Personalizing ClickUp:
Personalizing ClickUp to fit your team’s unique workflow can significantly enhance productivity. ClickUp, a leading project management platform, offers powerful customization features, such as custom fields and views. These features allow teams to tailor their workspace to match specific project needs, making it easier to organize information, prioritize tasks, and track progress efficiently. In this article, we’ll explore how to personalize ClickUp with custom fields and views, along with practical tips and best practices.
1. Understanding Custom Fields in ClickUp
Custom fields in ClickUp empower users to add additional information to tasks beyond the standard fields like due dates and assignees. This flexibility is particularly useful for specialized teams that require custom data tracking, such as budgets, project stages, or approval statuses.

Types of Custom Fields Available in ClickUp
ClickUp provides a variety of custom field options to cater to different data types:
- Text Field: For adding descriptive information or notes.
- Number Field: To input numerical values, ideal for budgets or cost tracking.
- Dropdown Menu: Enables team members to select from a predefined list, great for categories like project phases.
- Checkbox: Useful for binary tracking, like marking a task as approved or reviewed.
- Date Field: Tracks important dates like review dates or delivery deadlines.
- Formula Field: Allows for real-time calculations based on other fields (ideal for financial tracking).
Setting Up Custom Fields
- Step 1: Go to your desired task or list within ClickUp.
- Step 2: Click on “+ Add Custom Field” and select the type of field you wish to add.
- Step 3: Configure the field name and other details, then hit “Create.”
- Step 4: Once set up, the custom field will appear within the task and across views where it’s activated.
Best Practices for Custom Fields
- Keep Names Descriptive: A clear name for each field helps users understand its purpose.
- Standardize Across Workspaces: Ensure consistency by reusing field types (like “Budget” or “Priority”) across lists or projects.
- Use Formulas Wisely: Formulas are powerful but can clutter the interface; use them only when necessary.
2. Custom Views in ClickUp: A Game-Changer for Visualizing Work
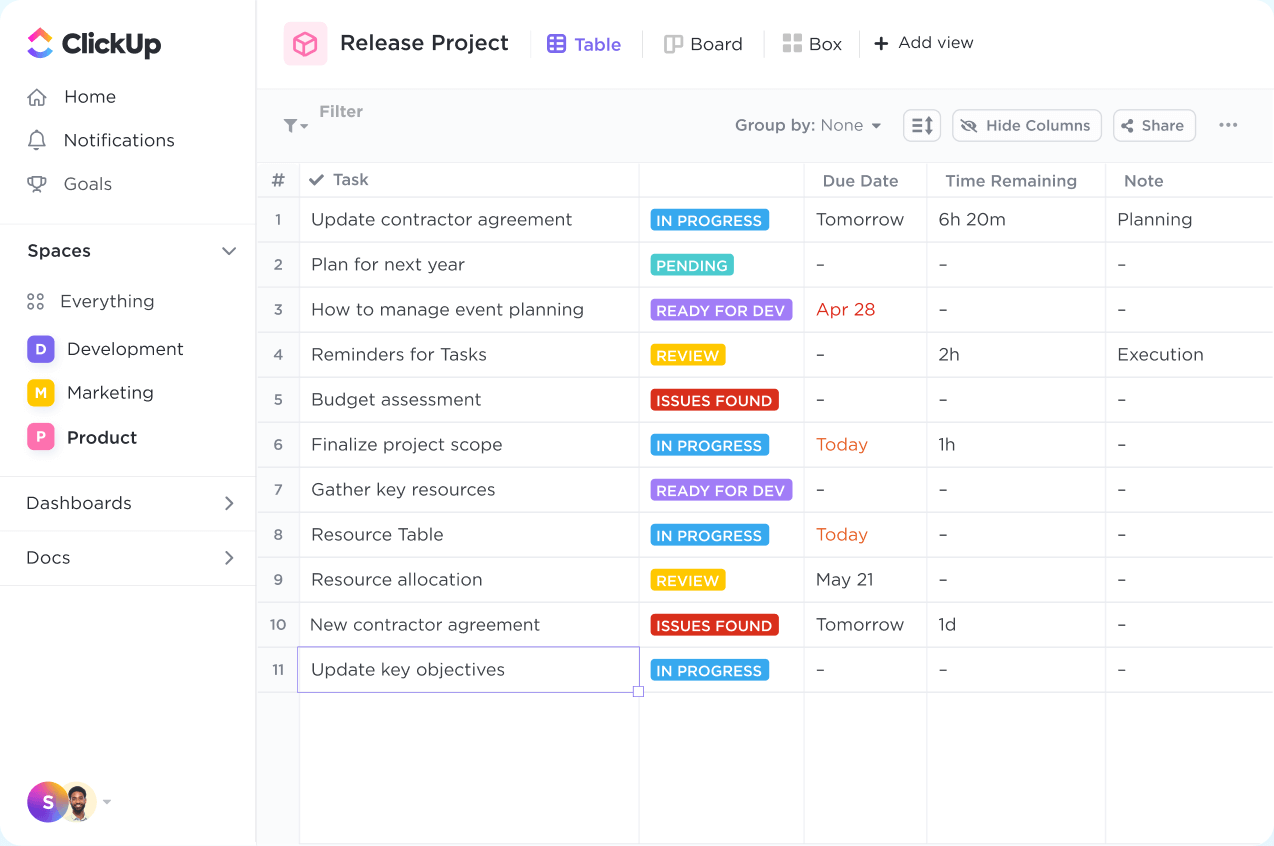
Custom views are a core component of ClickUp’s flexibility. They allow teams to visualize tasks, projects, and lists in ways that best suit their workflow.
Popular Types of ClickUp Views
- List View: Ideal for teams who prefer a linear structure for tracking tasks.
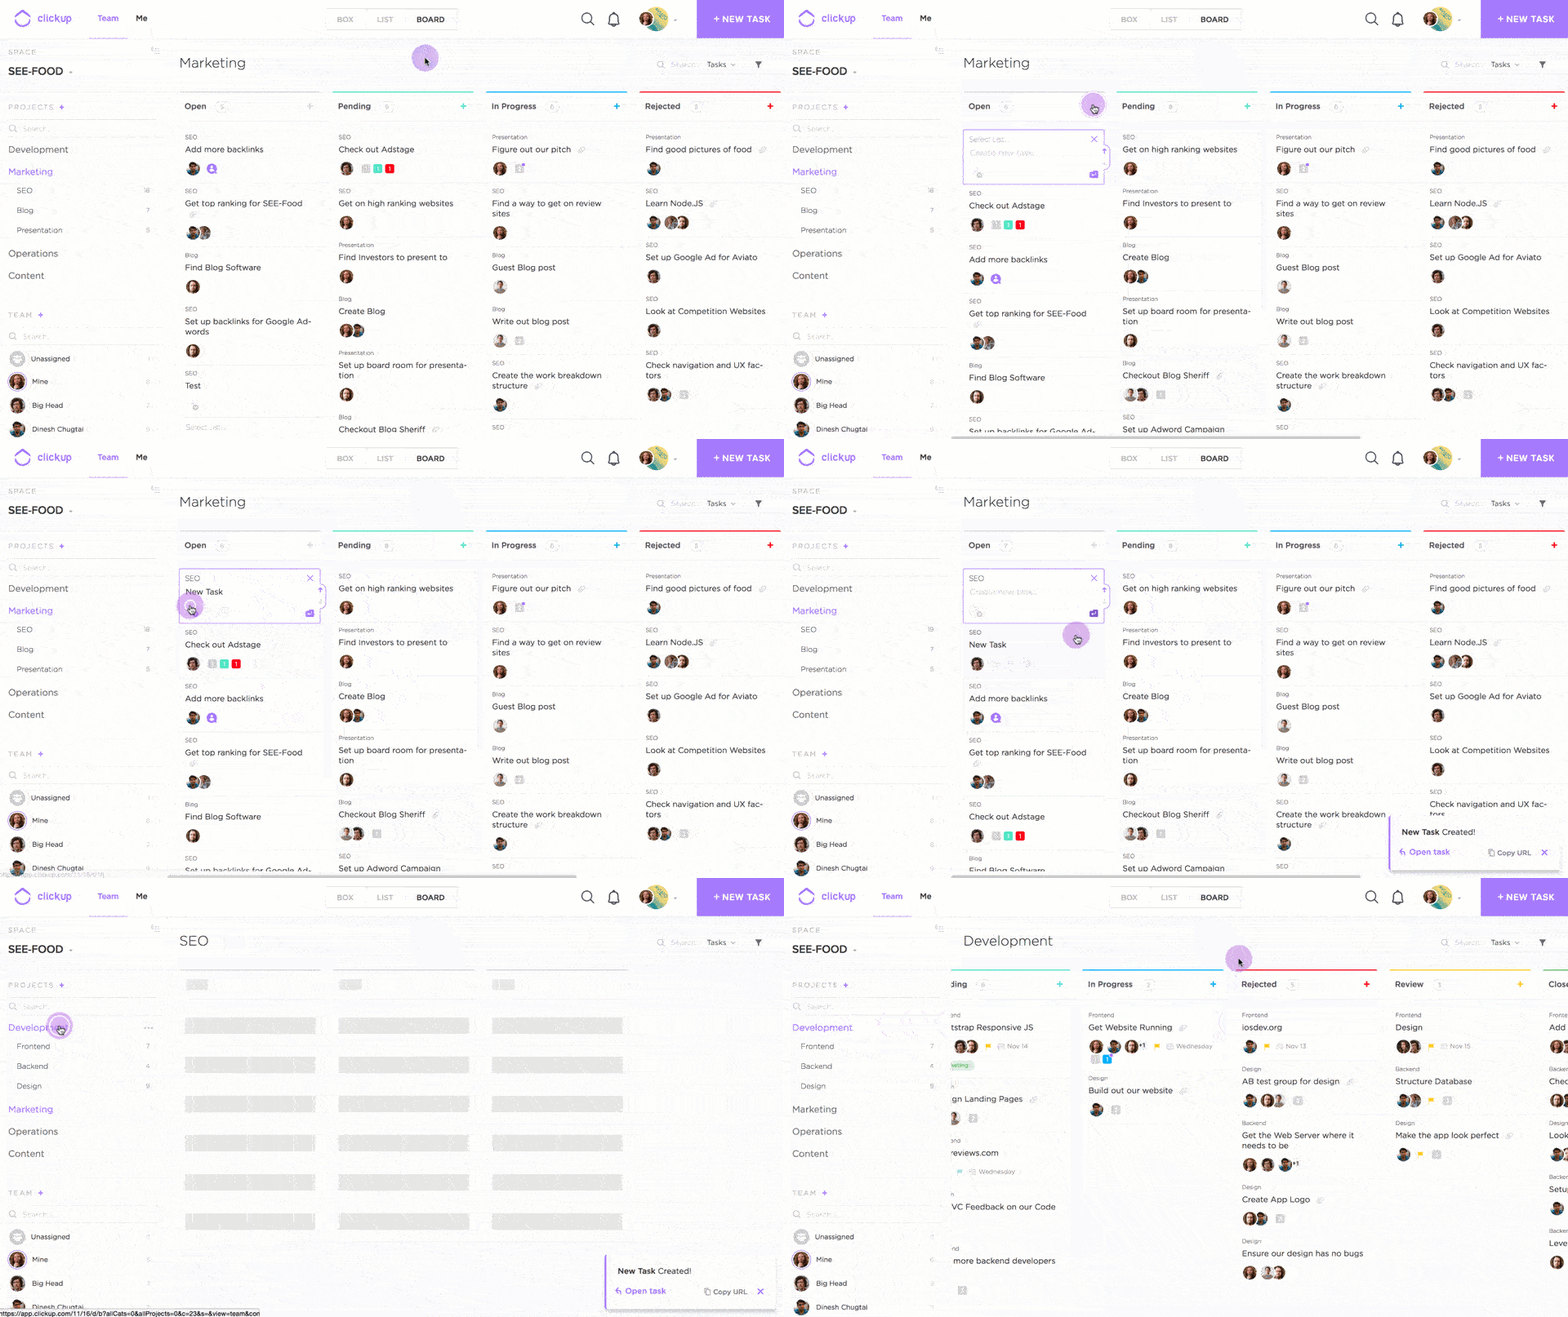
- Board View: Great for visualizing tasks in a Kanban-style setup. This is often used in agile project management.
- Calendar View: Perfect for teams managing events, deadlines, or milestones.
- Timeline View: Helps with visualizing tasks along a chronological timeline, useful for project scheduling.
- Box View: Provides an overview of workload distribution across team members.
Setting Up Custom Views
- Step 1: Navigate to the space, folder, or list you want to create a custom view for.
- Step 2: Click on “+ New View” and select the view type you prefer (List, Board, Calendar, etc.).
- Step 3: Customize view settings. You can filter tasks by assignee, due date, custom fields, and more.
- Step 4: Save the view, and it will be available to all team members within that workspace.
Customizing Views for Enhanced Productivity
- Filter by Custom Fields: Display tasks based on custom fields like “Priority” or “Status” for a targeted view.
- Group Tasks by Assignee: This setup helps team leads monitor each member’s workload and adjust accordingly.
- Apply Sorting Options: Sort tasks by due date, priority, or custom fields to stay on top of critical activities.
3. Practical Applications of Custom Fields and Views in Different Team Scenarios
For Marketing Teams
- Custom Fields: Use fields like “Campaign Type,” “Budget,” and “Approval Status” to manage and track marketing tasks.
- Views: Use the Calendar view to monitor content publishing dates or campaign deadlines.
For Product Teams
- Custom Fields: Add “Feature Status,” “Complexity,” and “Priority” fields for each task.
- Views: A Board view works best for product teams to track progress from ideation to launch.
For Sales Teams
- Custom Fields: Include fields like “Client Name,” “Deal Value,” and “Stage” to manage deals.
- Views: Use the List view, grouping deals by stages in the sales pipeline for a clear overview.
4. Tips for Optimizing Custom Fields and Views in ClickUp
- Review Regularly: As projects evolve, it’s crucial to update or remove outdated custom fields.
- Leverage Templates: ClickUp allows you to save customized setups as templates. This saves time and keeps projects consistent.
- Encourage Team Input: Team members can provide valuable feedback on which fields and views are most helpful.
5. Benefits of Using Custom Fields and Views in ClickUp
- Enhanced Data Tracking: Custom fields allow teams to capture unique information specific to their project needs.
- Improved Task Visibility: Views provide visual clarity, helping team members see what’s essential at a glance.
- Better Collaboration: With customized views, teams can focus on relevant information, fostering more effective collaboration.
- Time Efficiency: By tailoring ClickUp to specific workflows, teams can reduce the time spent searching for information and focus on high-impact tasks.
Linux vs CentOS: Which is the Best OS for Servers and Enterprise Use
Asahi Linux vs macOS: Which OS is Best for Your Apple Silicon Device
Bitwarden vs Microsoft Authenticator: Which One is Right for You
If you’re interested in external resources related to Personalizing ClickUp with custom fields and views, here are some valuable links:
- ClickUp University – Offers interactive courses on setting up and customizing ClickUp, including lessons on custom fields and views.
- ClickUp Help Center – Custom Fields – This section of the ClickUp Help Center provides step-by-step instructions on creating and using custom fields.
- ClickUp Blog – Browse the blog for articles on productivity, feature updates, and project management tips, often including real-world examples of how teams personalize their workflows.
- TechRepublic ClickUp Guide – A detailed comparison of ClickUp vs. other platforms like Jira, which may help readers understand the customization potential in ClickUp.
Personalizing ClickUp Conclusion
Personalizing ClickUp with custom fields and views can transform how your team manages projects. Whether you’re in marketing, product development, or sales, ClickUp’s customization options provide a flexible solution that adapts to various workflows. Start with a few custom fields and views, and gradually tailor them based on your team’s feedback and evolving needs. This personalization enhances productivity, streamlines task management, and ultimately contributes to project success.

